How to Set Up a Charging Station for Devices at Home or Office
Setting up a dedicated charging station for your devices is a smart way to keep your gadgets organized, fully charged, and ready to go. Whether at home or in the office, a well-planned charging area reduces clutter, prevents lost chargers, and helps your devices last longer. In this guide, we’ll walk you through the steps to create a functional and neat charging station that suits your needs.
Why Create a Charging Station?
With the increasing number of devices like smartphones, tablets, smartwatches, and wireless earbuds, managing cables and power sources can quickly become chaotic. A charging station helps by:
– Centralizing device charging in one spot
– Reducing tangled cables and clutter
– Making it easy to find chargers and devices
– Helping you keep track of devices that need charging
Now let’s explore how to set one up effectively.
Step 1: Choose the Right Location
The first step is selecting a convenient location for your charging station. Consider the following:
– Accessibility: Choose a spot you use frequently, such as a desk, countertop, or a side table in your living area.
– Power Source: Ensure there’s an accessible electrical outlet nearby to plug in your charging devices.
– Ventilation: Avoid placing chargers in cramped spaces that might overheat.
– Safety: Keep the area away from water sources and places where cables might be a tripping hazard.
Common locations include:
– Desk or office workspace
– Kitchen counter
– Near the entryway to drop off devices when you come home
– Nightstand or bedroom dresser
Step 2: Gather Your Charging Equipment
Next, collect all the charging devices and accessories you plan to use in your station.
– Chargers and Adapters: Identify the chargers compatible with your phones, tablets, and other gadgets.
– Charging Cables: Make sure you have sufficient and appropriate cables such as USB-C, Lightning, or Micro-USB.
– Power Strips or USB Charging Hubs: To charge multiple devices simultaneously, consider a power strip or a USB charging hub with multiple ports.
– Charging Docks or Stands: These help hold devices upright and prevent cables from tangling.
Step 3: Select a Container or Organizer
To keep everything tidy, choose a container or organizer that fits your space and style.
Options include:
– Cable management boxes: These hide power strips, adapters, and excess cable length.
– Drawer organizers: If you want a hidden station, use a drawer with compartments.
– Custom charging stations: Available online or at electronics stores; these often include slots and USB ports.
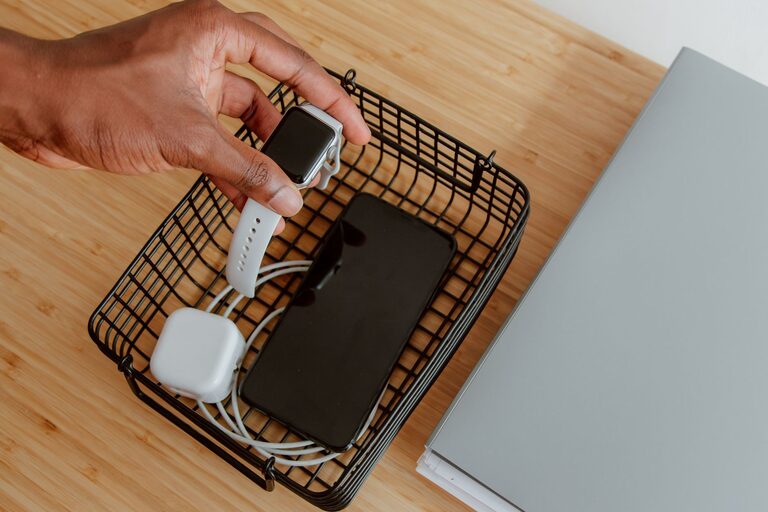
– DIY solutions: Repurpose small boxes, baskets, or trays to suit your setup.
Ensure your chosen organizer has ventilation to prevent overheating and easy access to plugs and ports.
Step 4: Arrange Cables and Devices
Organize cables and devices to minimize tangling and maximize convenience.
Tips for Cable Management
– Use cable ties or Velcro straps: Bundle cables neatly and label them if needed.
– Shorten cable length: Use shorter cables or coil excess length to prevent clutter.
– Use cable clips or holders: Attach these to your desk or organizer to keep cables in place.
– Color-code cables: Use colored tapes or sleeves to identify cables quickly.
Positioning Devices
– Place devices on stands or charging pads for easy pickup.
– Arrange devices so you can see the screens and easily access buttons.
– Avoid stacking devices on top of each other during charging.
Step 5: Test and Adjust Your Setup
Before finalizing, plug in all chargers and test each device to ensure they charge properly.
– Check that cables reach devices comfortably.
– Verify that power strips and hubs are functioning correctly.
– Adjust the arrangement if cables are stretched or devices are hard to access.
– Consider adding labels or signs if multiple users share the station.
Step 6: Maintain Your Charging Station
Keep your charging station neat and efficient with regular maintenance.
– Clean cables and organizers: Dust and wipe down once a week.
– Check for damaged cables: Replace frayed or broken cords.
– Update equipment: Upgrade chargers or hubs as technology changes.
– Remove unused items: Clear out devices or cables you no longer need.
Bonus Tips for Efficient Charging Stations
– Use smart chargers: These adjust power output based on the device, protecting battery life.
– Consider wireless charging: For compatible devices, wireless pads reduce cable clutter.
– Incorporate surge protectors: Protect devices from power spikes.
– Add lighting: A small LED light can make nighttime charging easier.
Conclusion
Setting up a charging station doesn’t have to be complicated. By choosing the right location, gathering suitable equipment, organizing cables, and maintaining your setup, you can enjoy a clutter-free space with all your devices ready whenever you need them. Whether you’re managing a few gadgets or a large family’s devices, a dedicated charging station is a practical investment in convenience and organization. Happy charging!